
What is the installation process for a stair lift with a landing in a split-level home?
Installation begins with a detailed home survey to assess each flight, landing, staircase width, access points and suitable power supply. The stairlift system is then tailored to the layout, securely fitted with minimal structural alteration, and tested so it operates safely between the different levels.
Installing a stair lift with a landing in a split-level home starts with a detailed assessment of the stairs, intermediate landing and upper or lower access points. The installer then designs the most suitable arrangement, which may involve a continuous curved stairlift, separate lifts for different flights, or a system that allows a safe transfer on the landing. The equipment is fixed securely to the staircase or supporting structure, tested across every section and explained to you before it is put into regular use.
1. Home survey and access assessment
A qualified surveyor first examines the complete route rather than assessing each staircase in isolation. This includes the direction and steepness of each flight, the size and shape of the landing, available headroom, staircase width, doorways, radiators, bannisters and nearby furniture. The survey also considers where the user will get on and off the stairlift and whether they can transfer safely between flights.
The surveyor will discuss how you intend to use the stairlift, including whether you need to travel between all levels without leaving the seat, whether you are able to stand and transfer on the landing, and whether another household member needs to use the stairs normally. These details affect the type of rail, seat, controls and landing arrangement recommended.
Access at the top and bottom of each flight is checked carefully. A landing may need a particular stopping position, a hinged rail or a different seat configuration to keep the staircase and adjoining walkways clear. If the staircase is unusually narrow or turns sharply, measurements help establish whether a bespoke curved system or another configuration is appropriate.
2. Choosing the layout
Once the measurements and user requirements are known, the installer explains the available layout. In some split-level homes, a single continuous curved stairlift can follow the staircase, turn through the landing and stop at the required levels. This provides a connected route, but the rail and controls must be designed specifically for the shape of the stairs.
In other homes, separate stairlifts may be more practical. The user travels on one lift, gets off at the landing, transfers to the second lift and continues to the next level. This can be suitable where the flights are independent, where a continuous rail would obstruct access, or where the landing provides enough safe transfer space. The arrangement is selected during the survey rather than assumed from the appearance of the staircase.
The installer also considers whether the lift should park on the landing, at the top or bottom of a flight, or in another position that leaves the stairs usable. A powered or manually operated swivel seat, folding arms, seat belt, adjustable footrest and suitable controls may be included where they improve safe operation.
3. Preparing for installation
Before fitting begins, the installation plan confirms the rail route, fixing points, charging locations and electrical requirements. Most stairlifts are secured to the stair treads or another suitable structural surface, rather than relying on the wall. This usually means the work can be completed with limited alteration to the home, although the exact fixing method depends on the staircase construction and the equipment selected.
A suitable power supply is identified for charging the stairlift. The installer checks that the charging point is accessible and positioned so that the lift can remain available without creating a trip hazard. If electrical work is required, it should be completed safely by a suitably qualified person in line with the relevant requirements.
You should clear personal items, ornaments and furniture from the stairs and landing before the fitting team arrives. It is also helpful to make sure the installer can reach every part of the route, including cupboards or doors that may affect the final stopping positions.
4. Fitting the rail and stairlift
For a curved system, the rail is manufactured or configured to match the surveyed staircase and landing. It follows the contours of each flight and turn, with stopping points selected to provide practical access at the different levels. For a split arrangement, each rail and lift is installed on its relevant flight, with the landing left clear enough for the required transfer.
The fitting team marks and checks the fixing positions before securing the rail. The carriage, seat, footrest, safety arms, sensors and controls are then assembled and adjusted. At a landing, particular care is taken with the stopping angle, seat position and clearance from walls, doors and the edge of the stairs. If the lift has a hinged rail, the installer checks that it can be moved safely without obstructing a doorway or passage.
Installation does not normally involve removing the staircase or making major structural changes. However, the survey may identify a need for minor adjustments, such as relocating an obstruction, altering a handrail position or providing an appropriate electrical connection. Any proposed work should be explained before it is carried out.
5. Testing every part of the route
After the stairlift is fitted, it is operated repeatedly between its stopping points. The installer checks that it travels smoothly on each flight, negotiates the landing correctly, parks in the intended position and charges properly. Safety features such as the seat belt, swivel mechanism, obstruction sensors, braking system, controls and emergency stop functions are also checked.
Where separate lifts are used, each one is tested independently and the transfer area is reviewed. The installer should confirm that the user can leave one lift, move safely across the landing and sit on the next lift without the equipment or its controls creating an avoidable hazard. Any adjustment to the seat height, armrests, footrest or control position is best completed at this stage.
6. Demonstration and handover
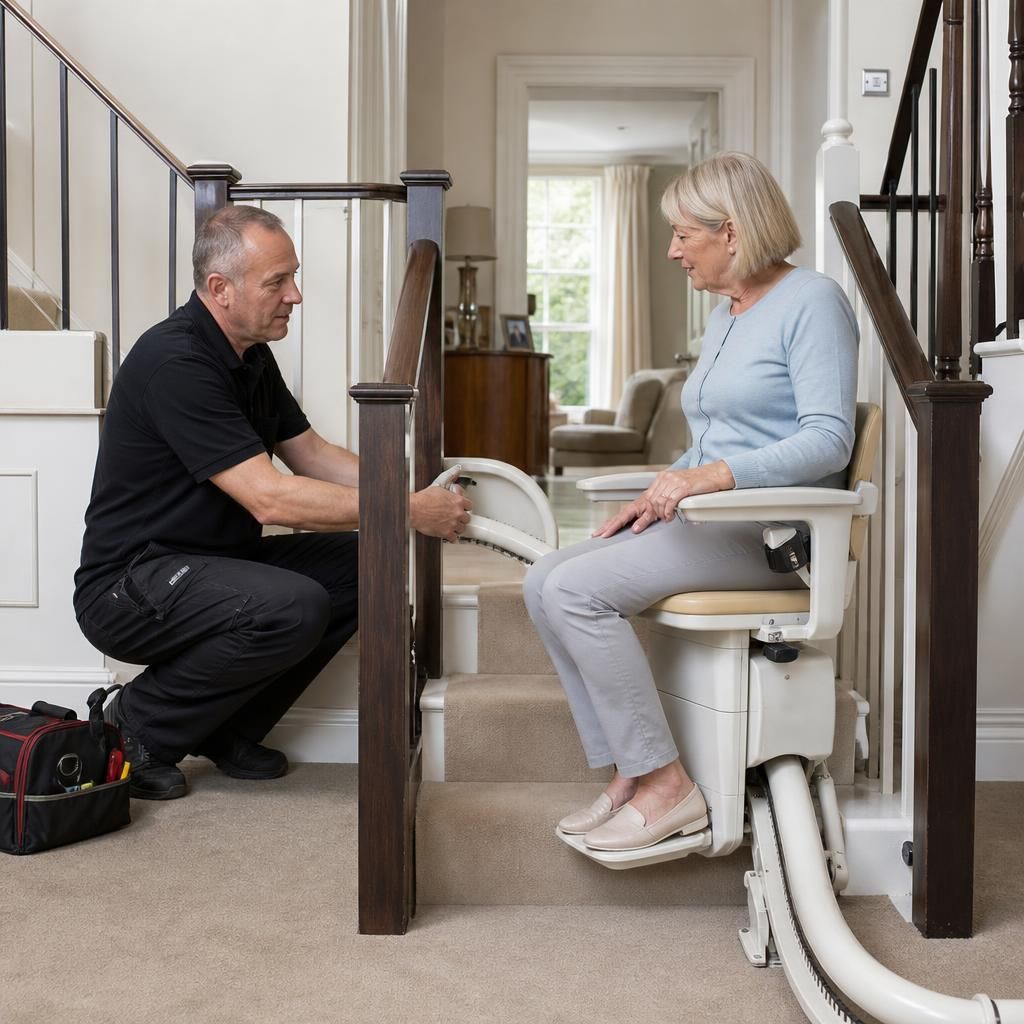
Before leaving, the installer demonstrates the complete journey, including how to start and stop the lift, use the controls, operate the seat swivel, fasten the seat belt, fold the seat or footrest and respond if the lift stops. If the system includes more than one lift or a landing transfer, the demonstration covers the correct sequence for changing between them.
You should also be shown how the lift charges, what the warning indicators mean and what to do in the event of a power cut or fault. Operating instructions and contact details for support should be provided. It is sensible for the user and any regular carer to practise the route while the installer is present, rather than relying solely on written instructions.
After installation
A stairlift with a landing should be kept free from objects that could interfere with the rail, sensors, footrest or transfer area. Do not move furniture around the landing without considering the lift’s stopping position and the space needed to get on and off safely. If mobility changes, the lift becomes difficult to use or the home is altered, contact the service team for advice instead of adjusting the equipment yourself.
The overall installation time depends on the staircase layout, whether the rail is bespoke, whether one or more lifts are required and whether any electrical or access preparation is needed. The survey provides the most reliable indication. A properly planned installation should leave the stairs and landing usable for other household members while giving the intended user a safe, practical route between the split levels.
For a stair lift with a landing in a split-level home, installation starts with a complete survey of the route rather than separate measurements of each staircase. The surveyor assesses the flights, landing shape, headroom, staircase width, access points and available transfer space.
This information determines whether a continuous curved stairlift or separate lifts with a landing transfer will be safer and more practical. The stopping positions, seat swivel, rail design and charging point are then planned around the user’s mobility and the needs of other people using the stairs. Before fitting is completed, the installer tests the full route and demonstrates safe operation, including getting on and off at the landing.
Book Your Split-Level Stairlift Assessment
Book a tailored assessment for your split-level home so we can evaluate the staircase, landing and safest stairlift configuration. Contact Independent Stairlifts to arrange your appointment.