
How is the installation process for a curved stairlift carried out?
A curved stairlift is installed through a tailored process that begins with an assessment of your staircase, followed by precise measurements, bespoke rail manufacture and professional fitting. The engineer then installs and tests the lift, adjusts it for safe, comfortable operation and explains how to use it.
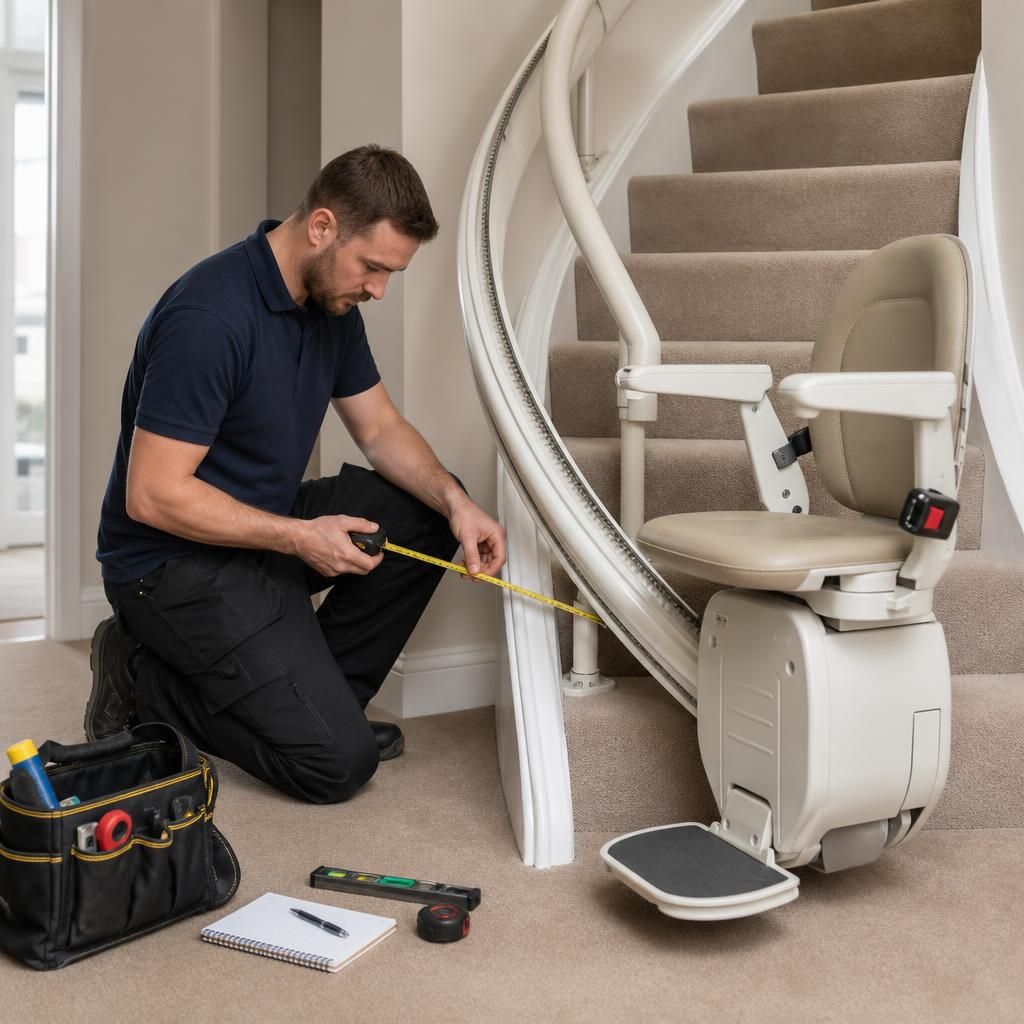
A curved stairlift is installed through a tailored process that starts with an in-home survey and ends with safety checks, adjustments and user instruction. Because the rail follows the exact shape of your staircase, the installer measures each section, confirms the preferred seat position and landing access, arranges manufacture of the bespoke rail, then fits and tests the complete system in your home.
1. Assessing the staircase and your requirements
An experienced adviser or surveyor first examines the staircase, surrounding walls, landings and available access space. They will usually discuss how you use the stairs, which side of the staircase is most suitable, where you want to get on and off, and whether anyone else needs to use the staircase regularly.
The assessment considers features such as bends, intermediate landings, narrow sections, doorways, radiators, bannisters and changes in floor level. It also checks whether the stairlift can park without obstructing a landing or passageway. Your height, weight, mobility and ability to transfer into the seat may also affect the recommended seat, armrests, controls and powered options.
2. Taking detailed measurements
The surveyor records the precise geometry of the staircase rather than relying on standard straight sections. Measurements may include the width and depth of the steps, the radius and direction of each turn, the height of the staircase, the position of the top and bottom landings, and the clearance available around the lift.
Depending on the system and staircase, the survey may use specialist measuring equipment or a digital template. The resulting information is used to design a rail that follows the stair profile while maintaining suitable clearance for the passenger and other household members.
3. Agreeing the design and quotation
Once the survey is complete, the proposed layout is checked with you. This is the stage to confirm the rail side, seat orientation, parking position, controls, upholstery and any options such as a powered swivel seat, powered footrest or hinged rail. The design should also account for how you approach the stairlift at the lower and upper landing.
A curved stairlift is made for the individual staircase, so the agreed design is sent for manufacture after the relevant details have been confirmed. If the survey identifies an access or clearance issue, the installer should explain the available alternatives before any fitting takes place.
4. Preparing the bespoke rail
The rail is manufactured to match the surveyed staircase. It is normally supplied in sections that can be brought into the property and assembled during installation. The carriage, seat, footrest, batteries and control equipment are prepared to work with that rail and the chosen configuration.
Manufacturing and delivery times vary according to the design, finish and availability of components. Your installation team should confirm the expected fitting arrangements and tell you whether any preparation is needed before the engineer arrives.
5. Installing the rail
On installation day, the engineer protects the relevant areas and brings the rail components into the property. The rail is generally fixed to the stair treads or supporting structure, rather than relying solely on the wall. This allows the stairlift to follow the staircase and can be suitable where the wall is not straight or does not provide the required fixing points.
The engineer positions and secures each rail section, checking alignment as the installation progresses. Care is taken to maintain usable stair width, avoid contact with walls and bannisters, and preserve access at the top and bottom. If the stairlift includes a hinged or powered rail, its movement and parking position are checked so it does not create an unnecessary obstruction.
6. Fitting the carriage and seat
After the rail is secured, the motorised carriage is fitted and the seat, armrests, footrest and controls are attached. The engineer sets the seat height, swivel action and other adjustments to suit the user. Charging points and batteries are connected, and remote controls are paired with the lift where applicable.
For a shared staircase, the installer will explain how the lift is called to the required floor and how it should be parked when not in use. If other people need to pass the stairlift, the engineer will also check that the folded seat, footrest and armrests leave appropriate clearance.
7. Testing and safety checks
The completed stairlift is tested over the full route, including every bend, transition and parking position. The engineer checks smooth movement, stopping points, charging, seat swivelling, the safety belt, armrest controls, footrest sensors and any obstruction or safety sensors fitted to the model.
They also check that the lift stops correctly if a sensor detects an obstruction, that the carriage remains stable on the rail, and that the controls respond as intended. Any required adjustments are made before the installation is handed over. The installer should not treat the fitting as complete until the stairlift operates safely and comfortably throughout its full travel.
8. Demonstration and handover
The engineer demonstrates how to get on and off safely, fasten the belt, operate the controls, swivel the seat where fitted, use the remote controls and park the stairlift correctly. You should also be shown how to charge the lift, what the warning lights or sounds mean, and what to do during a power cut or if the stairlift stops.
Ask the installer to repeat any part of the demonstration that is unclear, particularly the manual lowering or emergency procedure for your model. You should receive the relevant user information and details of the aftercare or breakdown support available with your purchase.
What you may need to do before installation
- Keep the staircase and both landings as clear as possible so the engineer can work safely.
- Tell the surveyor about doors, furniture, pets, regular visitors or other obstacles near the staircase.
- Explain any difficulty you have with sitting, standing, turning or reaching controls.
- Arrange for someone to be present if you would like a family member or carer to learn how to use the stairlift.
- Discuss any proposed changes to bannisters, doors or flooring before the fitting date.
Most curved stairlift installations are completed with minimal disruption, but the exact work depends on the staircase layout, the number of rail sections and any additional options. The finished installation should be secure, neatly positioned and checked for safe operation, with the controls and seating adjusted to the individual user rather than left at a standard setting.
The most important part of a curved stairlift installation is the detailed staircase survey. Unlike a straight stairlift, the rail must be designed to follow every bend, landing and change in direction while leaving enough room for the passenger and other people using the stairs.
The surveyor measures the steps, turns, landings, bannisters, doorways and nearby obstructions. They also discuss where you want to board and leave the stairlift, how it should be parked, and which seat or control features suit your mobility. These details are used to produce the bespoke rail before the engineer returns to fit and test it in your home.
Arrange Your Curved Stairlift Assessment
Arrange your curved stairlift assessment with Independent Stairlifts to discuss your staircase, access requirements and the most suitable installation plan. Our UK-wide team can provide tailored advice and explain the next steps.